How do I set up Supabase Auth emails with Dreamlit?
Supabase’s built-in email sender is not intended for production. It only delivers to team members, enforces strict rate limits, and the templates look generic. If real users need to reset passwords or verify emails, you need a production-ready sender. Dreamlit replaces all 6 auth email types (password reset, magic link, email confirmation, invite, email change, and reauthentication) in a single click. Connect your Supabase project, click Setup Supabase Auth, and Dreamlit generates branded templates with your logo, colors, fonts, and visual style. The Dreamlit email setup takes about 5 minutes.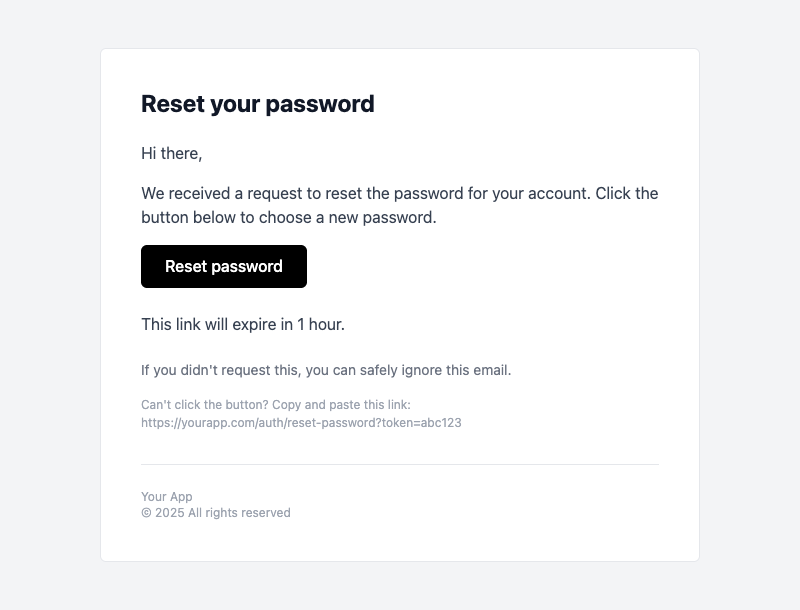
Who is this guide for?
- Supabase users who need auth emails that work beyond the development phase
- Vibe coders using Lovable, Bolt, or Cursor who hit the rate limit wall
- Anyone frustrated with Supabase’s default templates and ready for a 5-minute fix
What will I set up?
- A Supabase Auth Hook that routes auth email events to Dreamlit
- 6 auth email workflows: password reset, magic link, email confirmation, invite, email change, and reauthentication
- Branded templates with your logo, colors, fonts, and visual style
- Production-ready email delivery that works at scale
You can customize colors, logos, fonts, and visual style with Brand Styles.
What do I need before starting?
- A Supabase project using Supabase Auth
- App code that already incorporates the auth UX for your users (like a “Forgot Password” button or “Sign up” flow), including calling Supabase Auth APIs such as
signInWithOtp(),signUp(), orresetPasswordForEmail()which triggers the auth email events - For link-based auth: a working web callback URL or native deep link in your app, plus the same URL allowed in Supabase URL Configuration
- A decision between clickable auth links and six-digit email codes if you’re using magic link signin
How do I set this up as a new Dreamlit user?
Create a Dreamlit account
Go to app.dreamlit.ai and sign up.
Connect your Supabase project
During onboarding, click Connect Supabase and authorize the connection.
Enable Supabase Auth emails
After connecting, you’ll be prompted to set up auth emails. Click Setup Supabase Auth.This creates 6 workflows (password reset, magic link, confirm email, etc.) with branded templates. What this does →
Email generation and delivery is now being handled by Dreamlit
Dreamlit is now handling your auth email delivery. See Testing your setup below to verify the email sends and the auth flow works in your app.
How do I set this up as an existing Dreamlit user?
Open your connection settings
Go to Settings → Database Connections and click on your Supabase connection.
Enable Supabase Auth emails
Click Setup Supabase Auth.This creates 6 workflows (password reset, magic link, confirm email, etc.) with branded templates. What this does →
Email generation and delivery is now being handled by Dreamlit
Dreamlit is now handling your auth email delivery. See Testing your setup below to verify the email sends and the auth flow works in your app.
What does Dreamlit handle?
Dreamlit handles the email side of Supabase Auth:- installs the Supabase Auth Hook
- creates the Dreamlit workflows for each auth email type
- sends branded auth emails when Supabase emits an auth email event
- exposes Supabase auth variables such as
ConfirmationURL,Token,TokenHash,SiteURL,RedirectTo, andEmailin your workflow
- your app must call the right Supabase Auth method
- Supabase must allow the redirect URL you pass from your app
- web apps must handle the callback route
- native apps must handle deep links or universal links
- if you use PKCE, the app must complete the code exchange on the same browser or device where the auth flow started
What Supabase settings do I still need?
For auth links to work, your Supabase project must trust the URLs your app uses. In Supabase, go to Authentication -> URL Configuration and check:- Site URL points to your production app, not a local development URL
- Redirect URLs includes every web callback URL, native deep link, or universal link your app passes to Supabase
- Your app passes that URL when calling Supabase Auth, for example with
emailRedirectToorredirectTo - Native apps have the matching URL scheme or universal link configured in the app itself
Should I use magic links or six-digit codes?
Supabase usessignInWithOtp() for both magic links and email codes. The difference is the email template.
| Approach | What the email shows | Best for |
|---|---|---|
| Magic link | {{ ConfirmationURL }} | Web apps, or native apps with deep links already set up |
| Six-digit code | {{ Token }} | Native apps, cross-device sign-in, or flows where users enter a code in the app |
{{ ConfirmationURL }}. To use a six-digit code instead:
Edit the email step
Replace the button/link copy that uses
{{ ConfirmationURL }} with code-focused copy that shows {{ Token }}.{{ ConfirmationURL }} and show the code below it in the email template with {{ Token }}.
How do magic links work in native apps?
For iOS, Android, React Native, Flutter, or Expo apps, a magic link needs to open your app after Supabase verifies the email link. That usually means:- Configure a custom URL scheme or universal link for your app
- Add that URL to Authentication -> URL Configuration in Supabase
- Pass that URL when calling
signInWithOtp()withemailRedirectToorredirectTo - Handle the incoming link in your app
- Complete the Supabase session exchange in the app
How do I test my auth emails?
Once your auth emails are configured, verify they’re working:- Trigger a password reset from your app—call
supabase.auth.resetPasswordForEmail()or use your app’s “Forgot Password” flow - Check your inbox within a few seconds for a branded email
- Verify the auth flow works by clicking the link or entering the code in your app
FAQ
Why aren’t my emails arriving?
- Check spam/junk folders: new sender domains sometimes get filtered initially
- Verify the connection is active in Settings → Database Connections
- Make sure you’re calling the right Supabase method — auth emails only trigger from Supabase Auth API calls, not database changes
Why am I still receiving old Supabase templates?
First, check that Supabase Auth is connected: go to Settings → Database Connections and look for the “Supabase Auth” badge on your connection. If it’s missing, click the connection and run Setup Supabase Auth again. If the badge is there but you’re still getting old templates, the Auth Hook may not be configured correctly in Supabase. Go to your Supabase dashboard → Authentication → Hooks and verify Dreamlit’s hook is enabled.Why aren’t my auth links working?
If password reset or magic link emails arrive but the links don’t work as expected, the email delivery is probably working. The issue is usually in your app’s Supabase redirect or callback handling. Check these first:- Your
redirectTooremailRedirectTovalue is allowed in Supabase URL Configuration - Your Supabase Site URL is set to your production app
- Your web callback route or native deep link opens the right app screen
- Your app exchanges the returned code or token for a Supabase session
- If you use PKCE, the link is opened on the same browser or device where the flow started
{{ Token }} instead of a magic link.
How do I show a six-digit code instead of a magic link?
Open the Magic Link workflow in Dreamlit and edit the email step. Replace the button that points to{{ ConfirmationURL }} with code copy that shows {{ Token }}.
Then update your app so users can enter that code and verify it with Supabase Auth. Supabase calls both flows “OTP” in the API, so signInWithOtp() can trigger either a magic link or a code depending on the email template.
Do not make this decision by checking whether Token is present. Supabase can provide both Token and link data for the same event. The right choice is whichever flow your app actually implements.
Can I customize individual email templates?
Yes. Each auth email has its own workflow in Dreamlit. Open the workflow, click on the email step, and edit the template directly or ask the AI to make changes for you.How do I send from my own domain?
By default, auth emails send from Dreamlit’s domain. To send from your own domain (likehello@yourapp.com), set up your email domain.
Next steps
Supabase integration
Full reference for Supabase setup
Email domain setup
Send from your own domain
Test interface
Preview emails before going live
Use cases
What else you can build
References
- Supabase Auth SMTP docs
- Supabase Auth redirect URLs
- Supabase mobile deep linking
- Supabase PKCE flow
- Supabase passwordless email logins
- Supabase Auth API reference
- Dreamlit Supabase integration
Last validated: 2026-04-29