If you haven’t yet added and verified your own email domain, you can use Dreamlit’s default sender to get started.
Allow unsubscribe
Each Send Email step has an Allow unsubscribe toggle. Turn it on for any email recipients should be able to opt out of (newsletters, product updates, promotions, digests, reminders, etc.). Leave it off for messages recipients need to receive regardless (account confirmations, billing receipts, security alerts, auth codes). When you turn on Allow unsubscribe, you also pick a topic such asProduct updates or Newsletter. Dreamlit uses that topic to:
- power a managed unsubscribe link
- honor topic-level opt-outs
- honor project-level “unsubscribe from all optional email”
- include email-client unsubscribe headers automatically
Breakdown
Specify a sender
Specify the email address from which you’d like to send the email. If you haven’t configured a domain, no worries—you can use Dreamlit’s default sender to get started.
Set recipient
You can either specify one of your team member’s email addresses, or you can have the recipient dynamically set using a Liquid variable.For example, if you have a
user_email field in your input data, you can set the recipient to {{ user_email }}.Set Allow unsubscribe
Turn on Allow unsubscribe for subscription-style email recipients can opt out of, and leave it off for operational messages they need to receive.If you turn it on, select an existing topic or create one inline. Broadcast emails typically have Allow unsubscribe turned on.
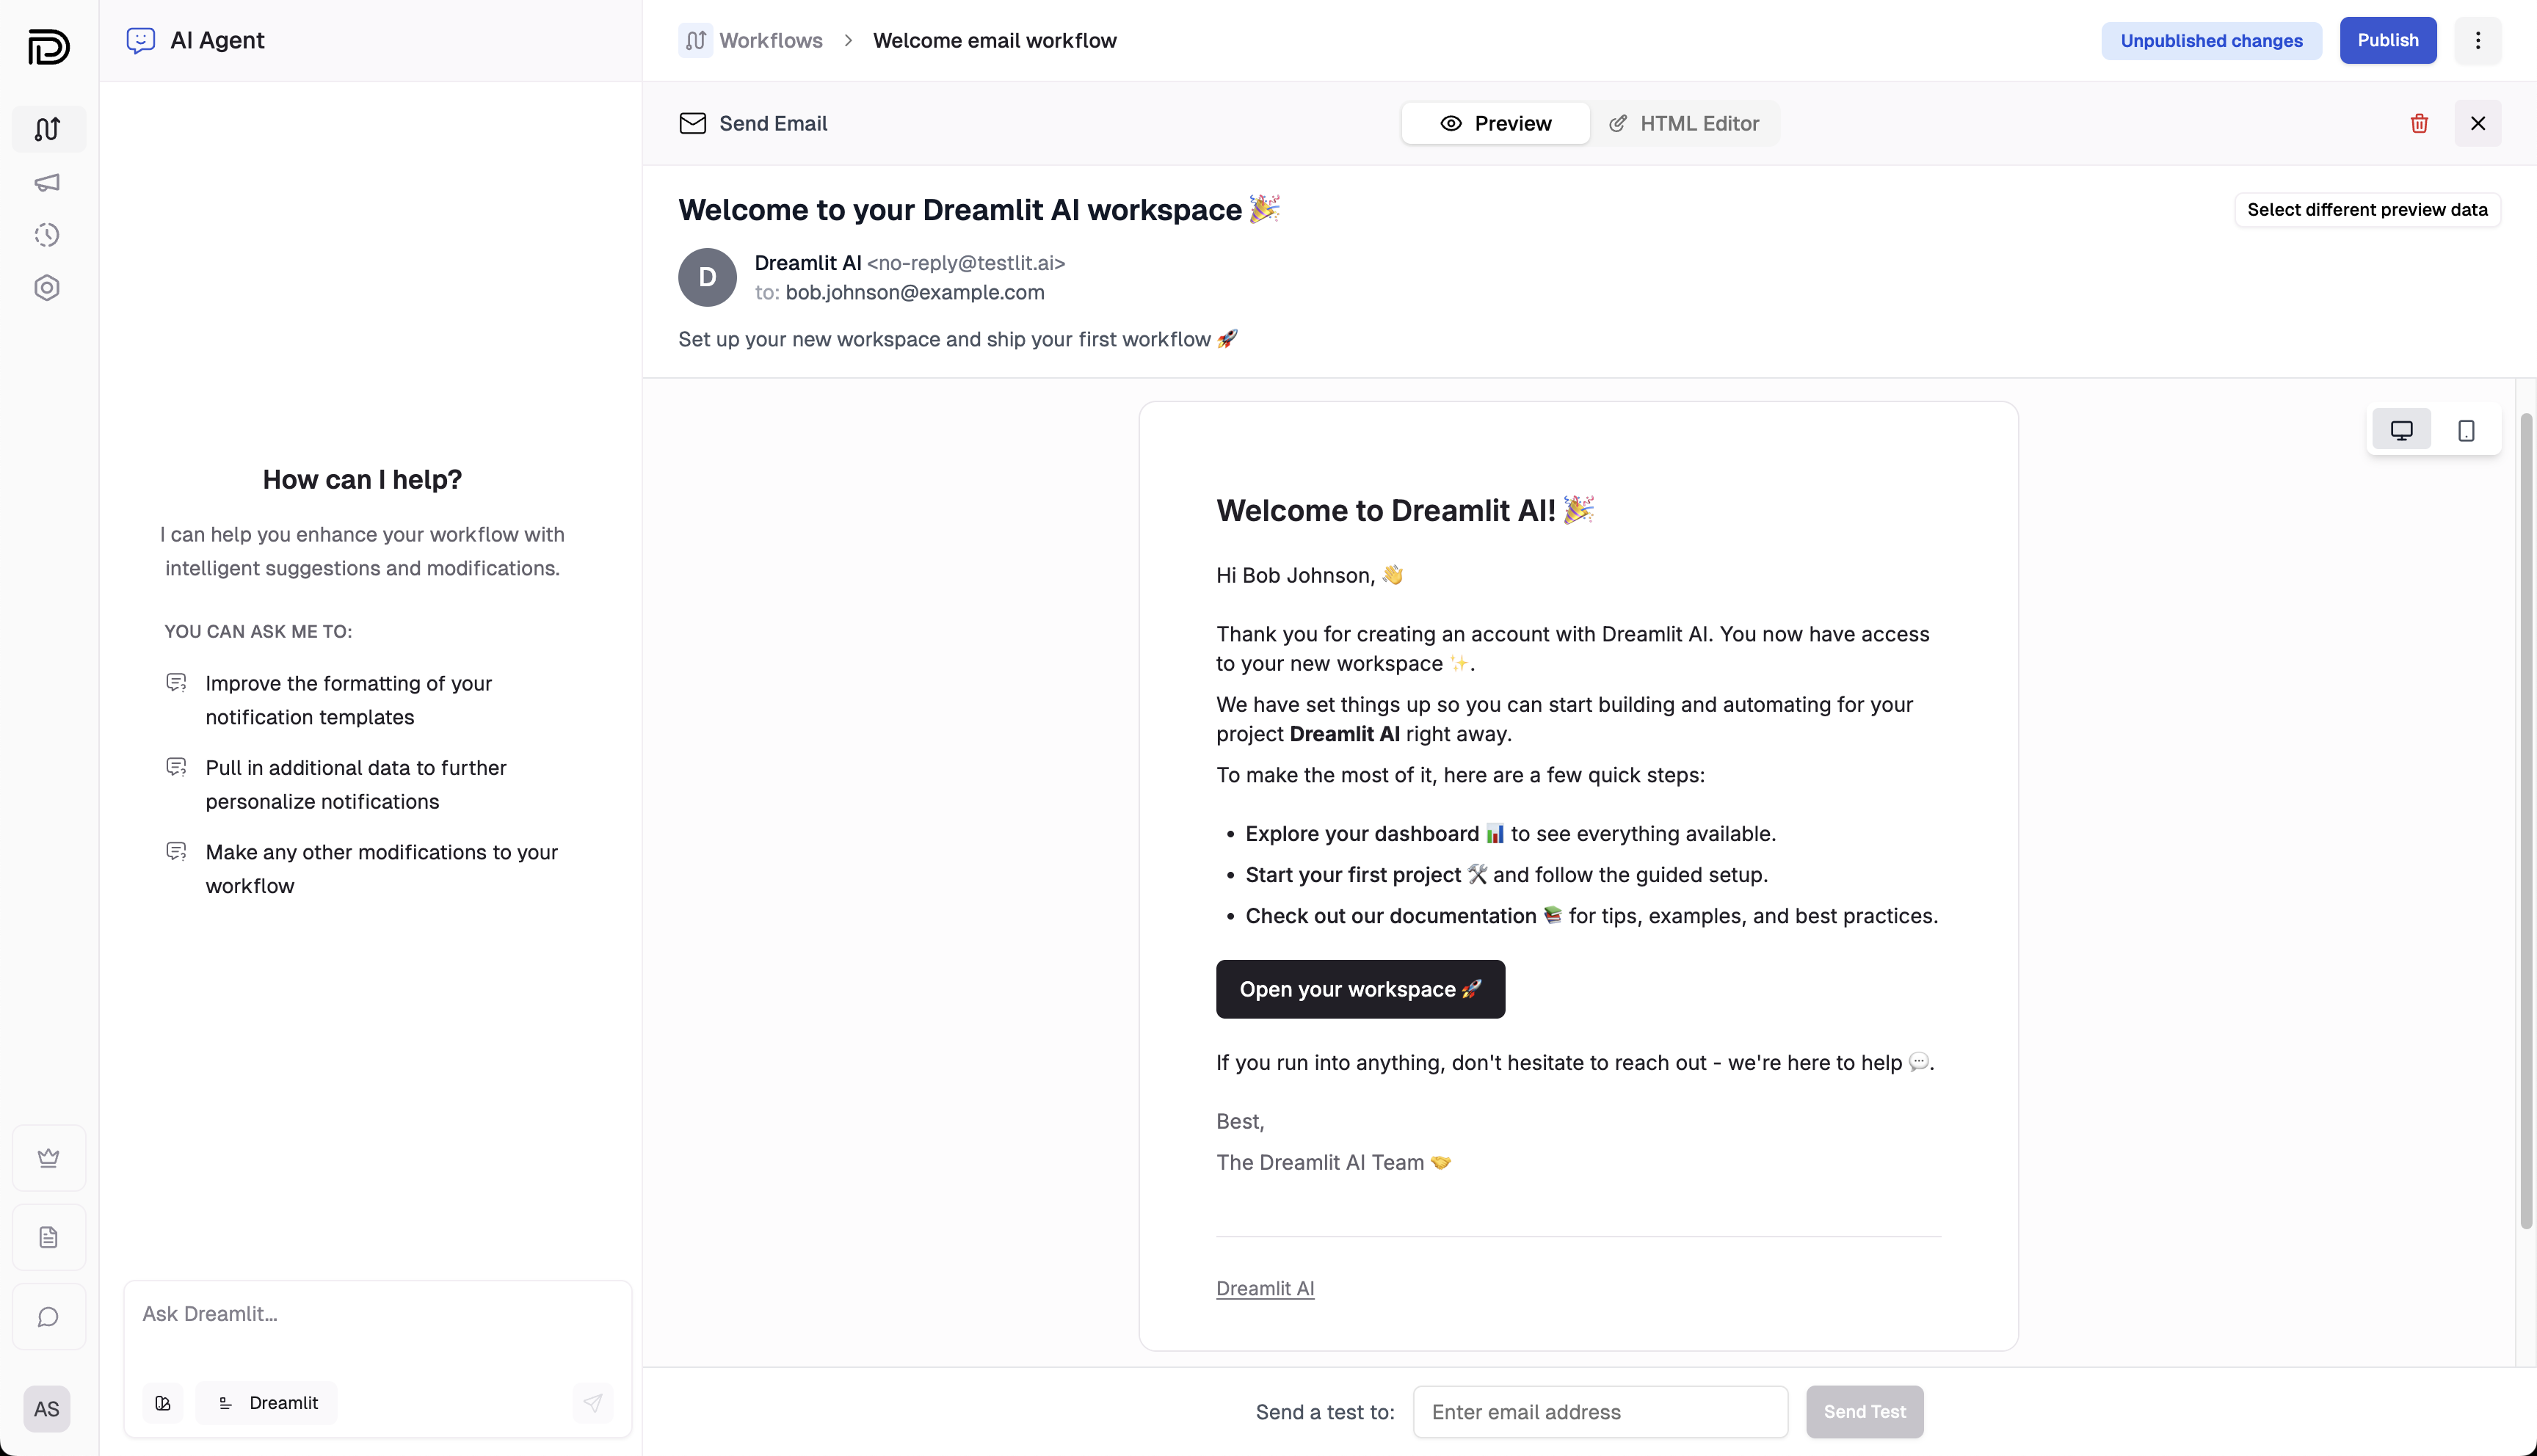
Fill out the subject, preview text, reply-to, and the email body
- Reply-To (optional): The email address to which recipients can direct replies to.
- Subject: The subject line of the email.
- Preview Text (optional): A short summary that appears below or beside the subject in many email clients.
- Body: The full email template. If you have a Brand Style configured, the AI can apply your logo, colors, and fonts when creating or changing the email design.
Test and preview
Click the Preview tab to see how your email will be fully rendered (i.e. with test input data values substituted in). You can send yourself a test email to confirm it in your email client as well.Remember that your test input data could generate multiple emails if there are multiple rows. If you’d like to select a different row to preview an email for, simply click the “Test” tab under the Input section on the left. You’ll see a list of emails that the trigger input would generate and you can select a different row to preview there.If you’d like to select a different test trigger input, you can do so by opening the Test panel in the workflow builder.
Brand consistency
Maintaining a consistent visual identity across all your emails is often an afterthought. With Dreamlit’s Brand Styles, you define your styles once—logo, colors, fonts, and visual style—and our AI can apply them when generating or changing email designs.- Centralized styling: Update your brand color in one place, and it applies to future generations.
- Visual consistency: Ensure every notification uses the same saved logo, colors, fonts, and layout style.
- Design best practices: Our templates are pre-optimized for dark mode and mobile responsiveness, so you don’t have to fight with email HTML tables.
Explore further
Managed unsubscribe
Learn how topics, unsubscribe links, and unsubscribe-all work.
Email domain setup
Learn how to set up your own email domain to send emails to external
recipients.
Brand Styles
Configure your logo, colors, fonts, and visual style for consistent on-brand emails.