How to Add Emails to Your Replit App (The Easy Way)
Add welcome emails, notifications, and email blasts to your Replit app. No code changes, no API keys. Just connect your database and describe what you want.
Your Replit app is live and users are signing up. Now they need a welcome email, a password reset, maybe an order confirmation.Here’s the good part. When you deploy a Replit app, its production database runs on Neon with a real Postgres connection string, so Dreamlit can connect to it directly. No migration, no code changes, no API keys. This guide walks you through it, whether you use Replit’s production database or an external provider like Supabase. Once connected, Dreamlit securely reacts to database changes and handles notifications end-to-end:
Member joins → welcome email
Form submitted → confirmation sent
Milestone reached → celebration email
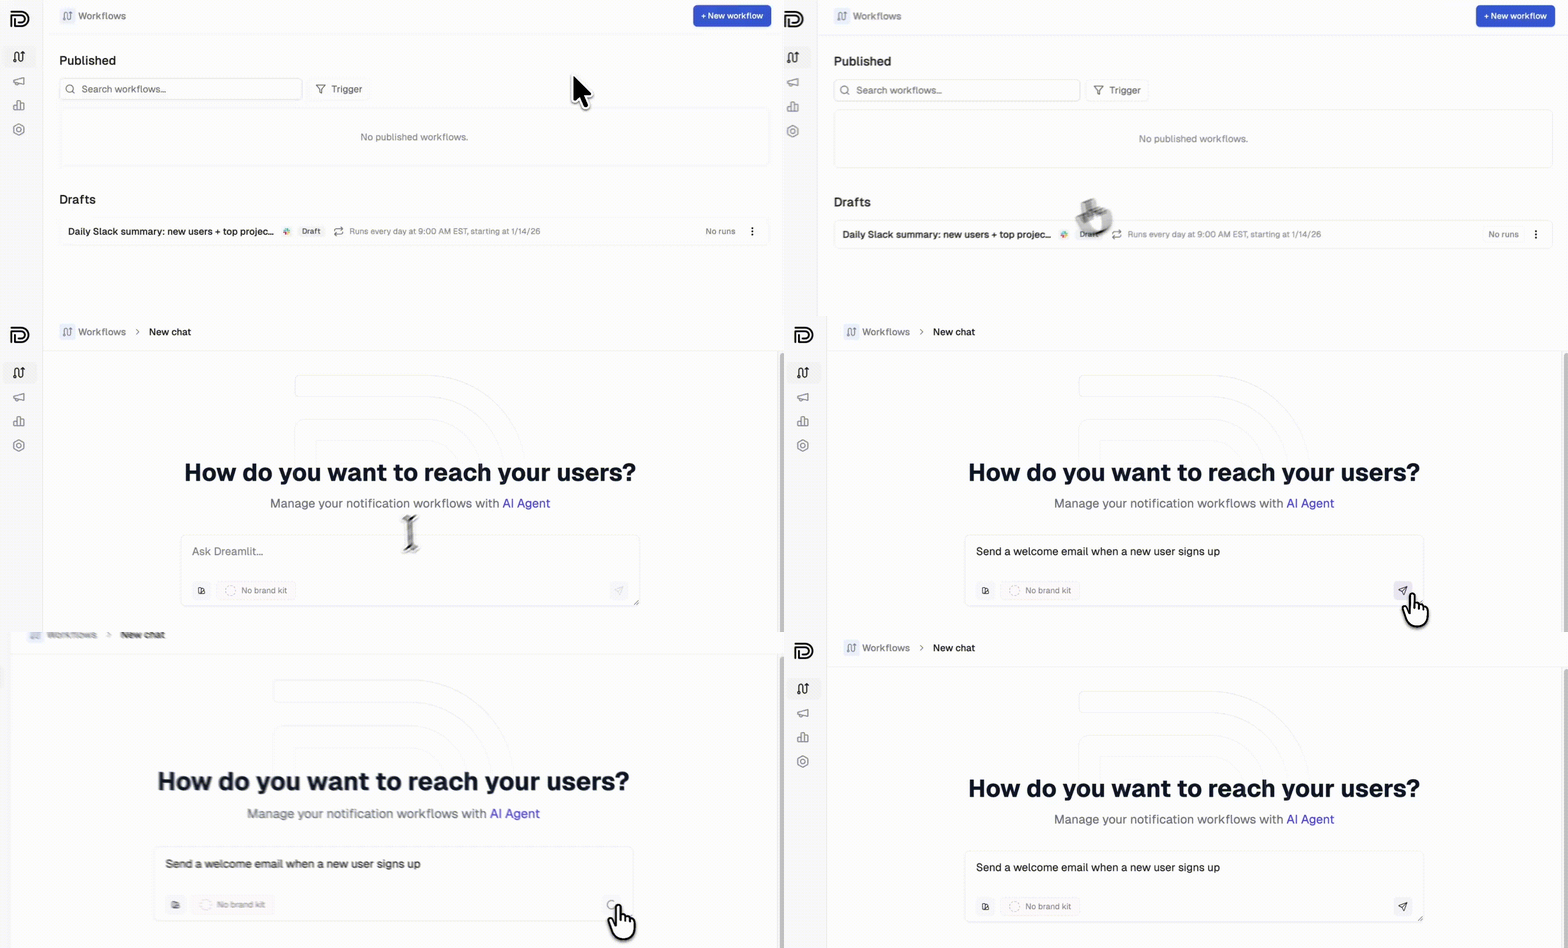
Describe the email you want, and the AI builds the workflow.
When you deploy a Replit app, Replit gives it a production database hosted on Neon with a standard Postgres connection string. That’s the database Dreamlit connects to. It holds your live users and events, which is exactly what your emails should react to.To connect, grab your production connection string (see the steps below). No migration and no rebuild required.
Replit’s development database, the one you use while building in the workspace, runs on Replit’s own infrastructure and isn’t reachable from outside your app. That’s fine. Dreamlit connects to your production database, where your live data lives. If you haven’t deployed your app yet, publish it first to create the production database, or connect an external database like Supabase.
Not sure which is which? Check your DATABASE_URL. A value containing helium/heliumdb is your internal development database. Your production connection string points to neon.tech and is the one to give Dreamlit.
If you’ve explicitly prompted Replit to connect your app to Supabase, Neon, Railway, or another external PostgreSQL database, connect that one. Skip ahead to Connect Dreamlit to your database.
In your Replit project, open the Database tool and select your production database. Copy its connection string (it points to neon.tech). If you haven’t deployed your app yet, publish it first to create the production database. See Replit’s production databases docs for details.
3
Connect in Dreamlit
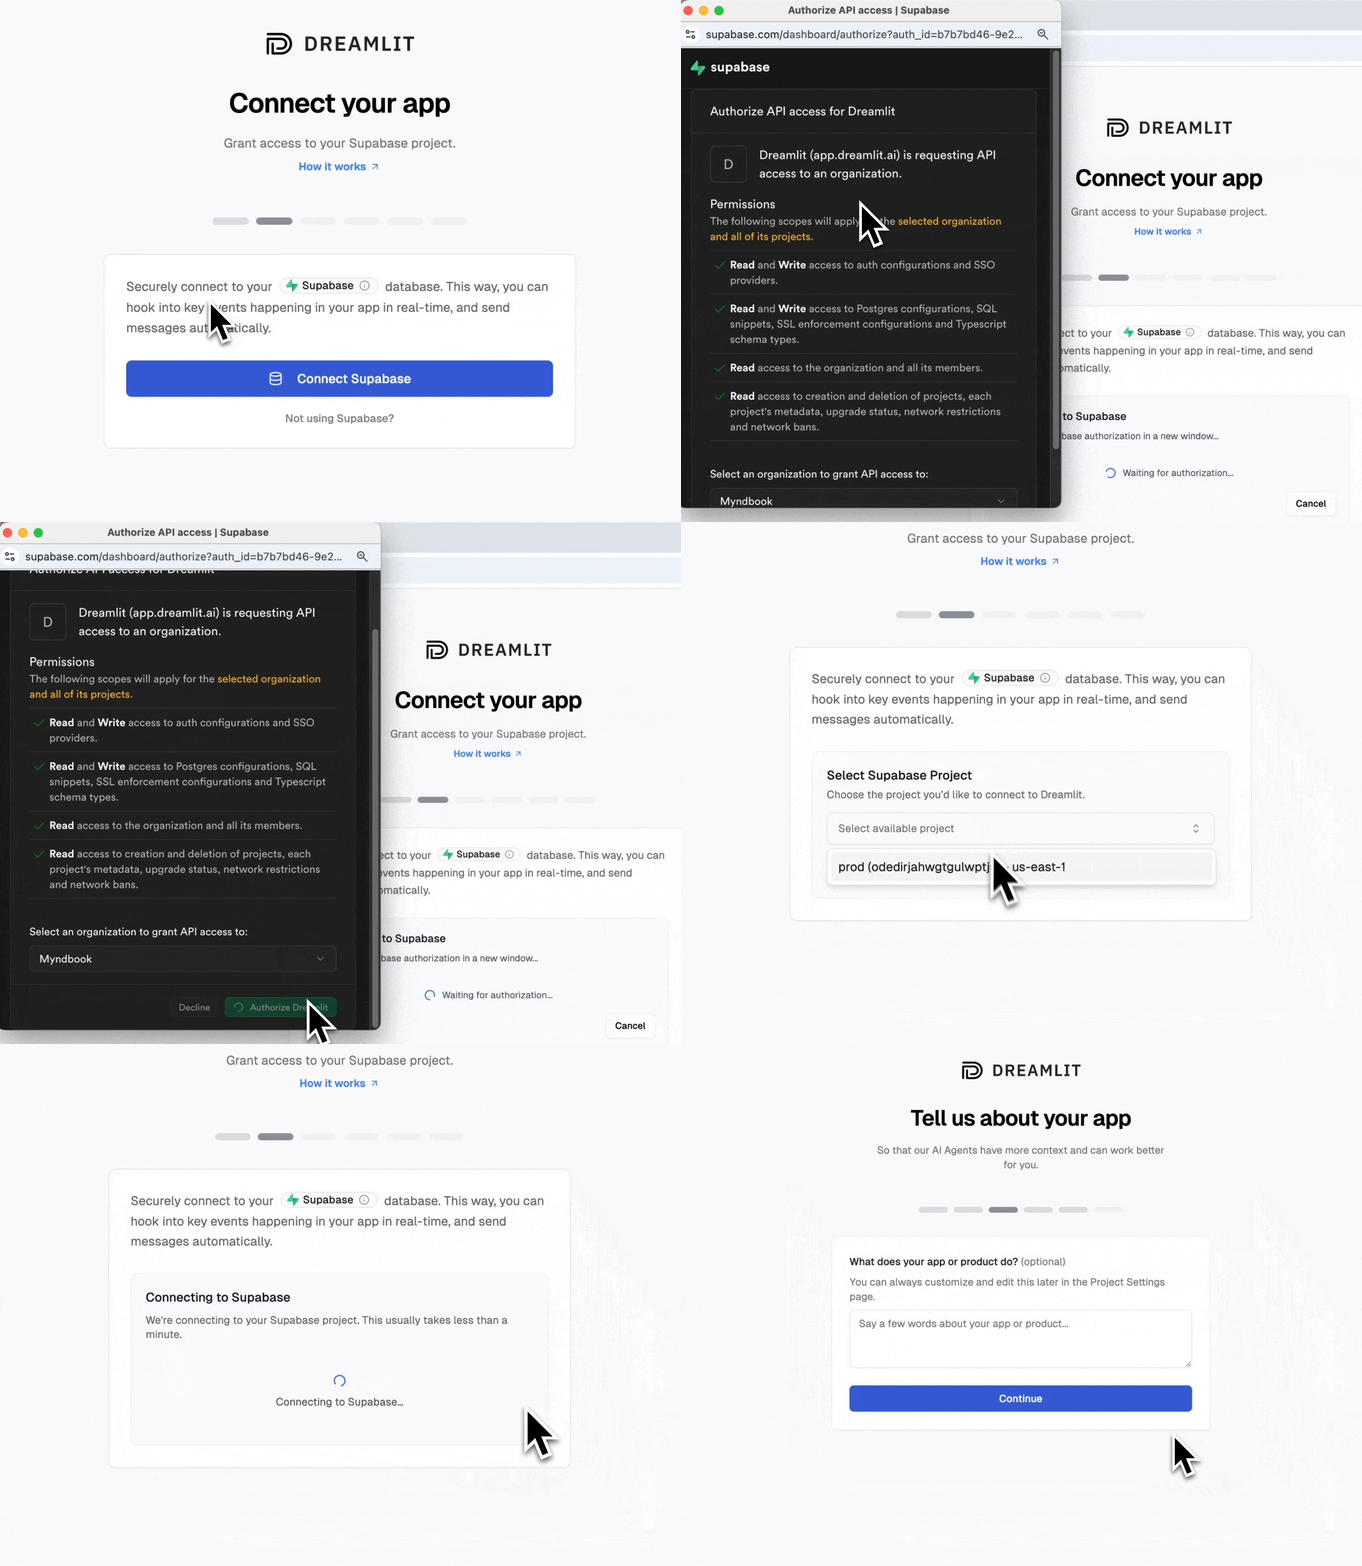
Click Connect Postgres and paste your connection string. Follow the guided setup to grant Dreamlit the minimal permissions it needs.
Keep your connection string private. It grants full database access. Never share it publicly or commit it to version control.
Here’s the key insight: Dreamlit securely connects to your database and reacts to changes, not your code. When a new row appears in your users table, Dreamlit sends the email automatically.If your Replit app already creates user records on signup, you’re done. No code changes needed.If you need to add a table for Dreamlit to use as a trigger, prompt your AI assistant:
“When a user signs up, add a row to the user_signups table with their email and name”
Or for something like order confirmations:
“When a user completes checkout, insert a row into the orders table with the order details”
Dreamlit triggers emails based on database changes. When building in Replit, focus on getting data into your database. Dreamlit handles the rest.Good prompts:
You want…
Prompt with…
Welcome emails
”Store new signups in a user_signups table”
Order confirmations
”Insert order details into orders when checkout completes”
Comment notifications
”Save comments to a comments table with the post_id and author”
Activity alerts
”Log user actions to an activity table”
You don’t need to prompt about emails at all. Just make sure the data lands in your database, and Dreamlit takes it from there.
Any workflow that triggers on a database change. Check out our use cases for example prompts across welcome emails, order confirmations, reminders, internal alerts, and more.
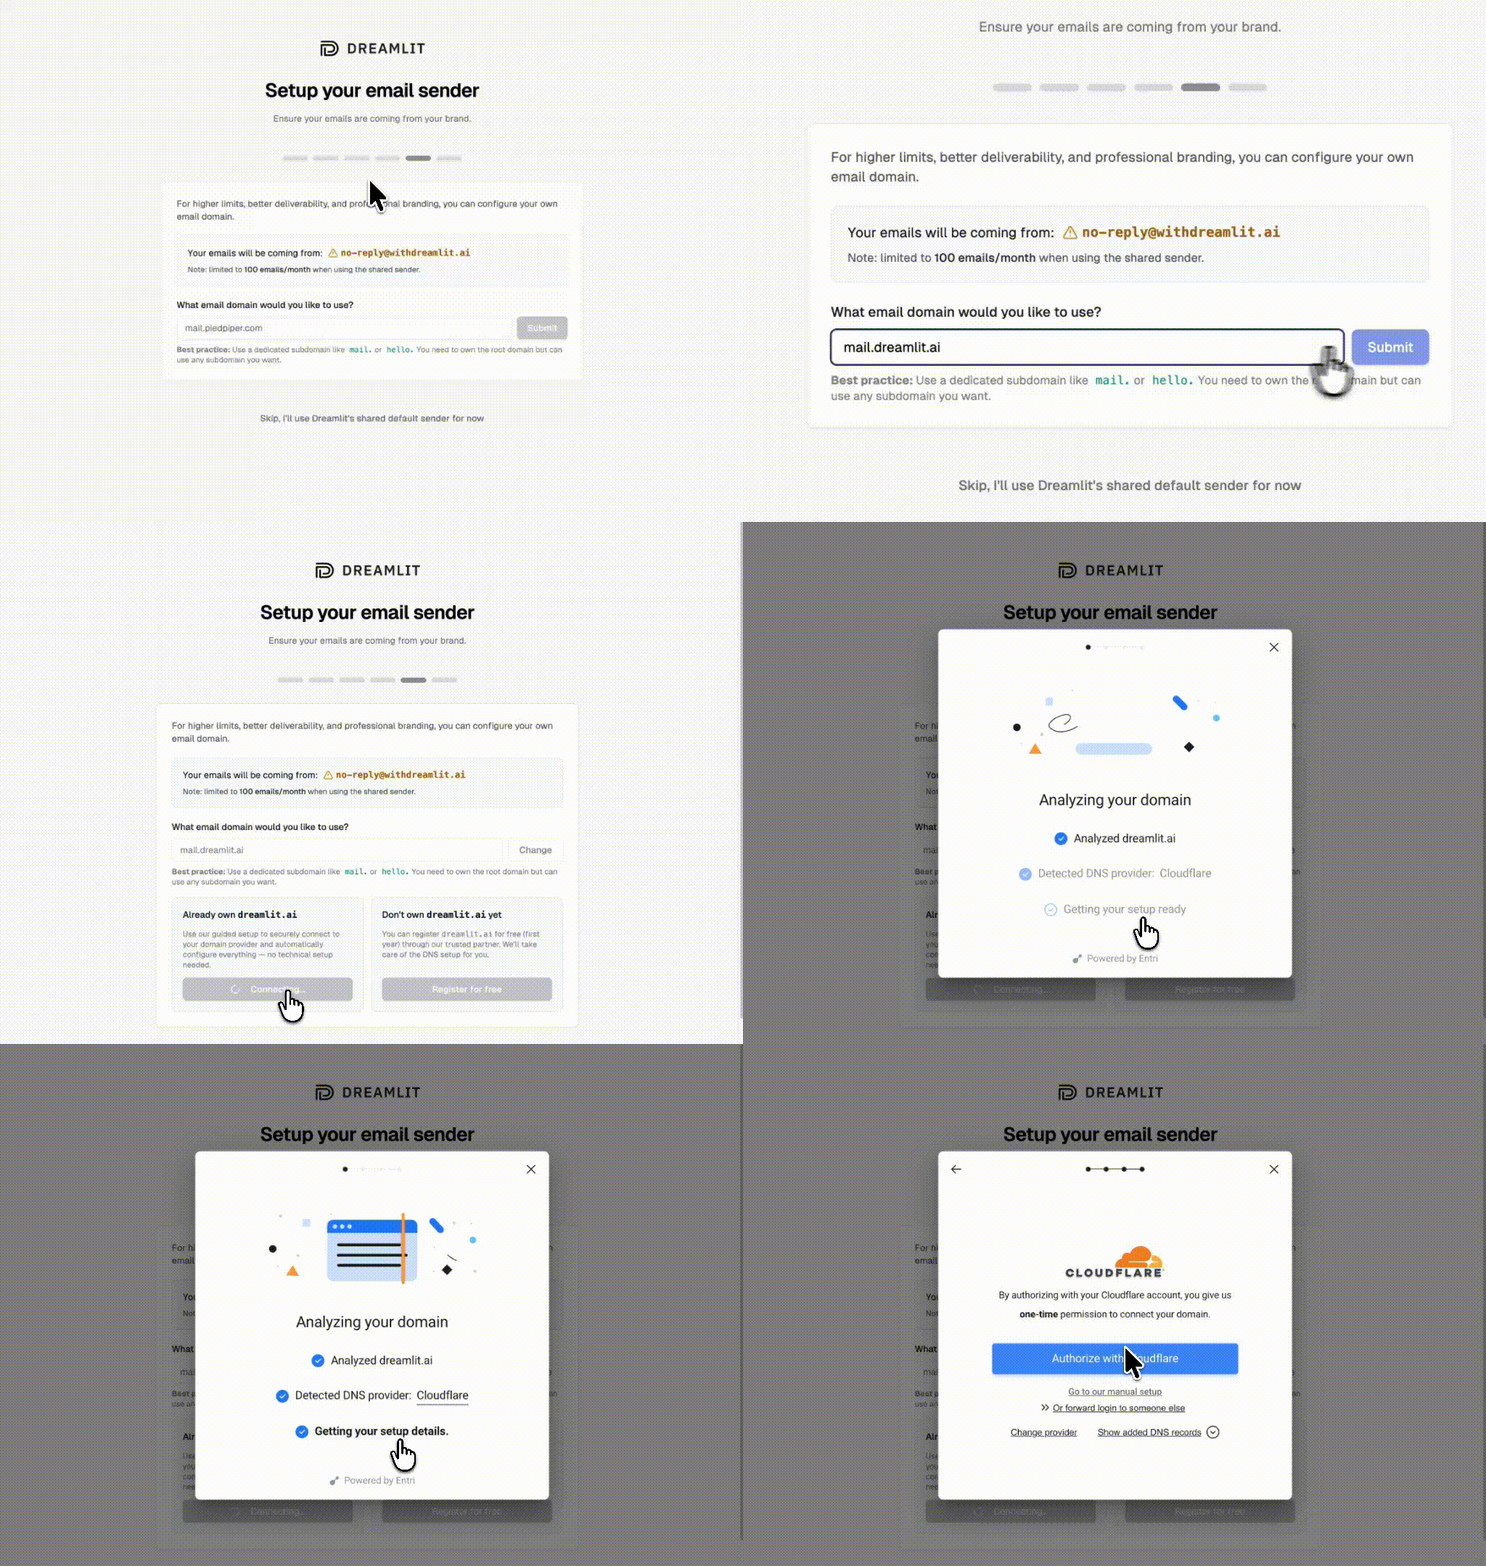
By default, emails send from Dreamlit’s domain. To send from your own domain (like hello@yourapp.com), set up a custom email domain in minutes.
1
Add your domain
Go to Settings → Email Domains and click Add domain. Enter your domain (we recommend a subdomain like mail.yourapp.com).
2
Verify automatically
Dreamlit can automatically configure your DNS records for you. Just click Verify with your DNS provider, sign in to your provider, and authorize the changes.
Automatic DNS setup, no manual records needed
If your DNS provider isn’t supported for automatic setup, you can add the records manually. Dreamlit shows you exactly what to add.
3
Start sending
Once verified, select your domain when creating email workflows. Your emails will now come from your own brand.
Your production database. When you deploy a Replit app, its production database runs on Neon with a standard Postgres connection string, so Dreamlit connects to it directly. That database holds your live users and events, which is what your emails should react to. No migration needed.
My DATABASE_URL contains helium/heliumdb. What do I do?
That’s your Replit development database, which runs on Replit’s own infrastructure and isn’t reachable from outside your app. Connect your production database instead. Open the Database tool, select the production database, and copy its connection string (it points to neon.tech). If you haven’t deployed yet, publish your app first to create it.
No. If your app is deployed, its Neon-backed production database connects to Dreamlit as-is. Migrating to Supabase or another provider is optional, and worth it only if you want that provider’s other features.
Usually no. If you’re already using Replit’s production database or Supabase, Dreamlit reacts to your existing database changes, so if your app already writes the data you need, you’re all set. You’d only update your database calls if you decide to add a new external database like Supabase.
Yes. Dreamlit supports Slack alongside email. Just describe what you want: “Notify our team on Slack when a new order comes in.” Learn more about Slack →
Use the preview feature to send test emails to yourself with real data from your database. Your workflow won’t email actual users until you publish it.
What if I’m already using Resend, SendGrid, or another email provider?
Dreamlit works alongside traditional email providers. Since Dreamlit takes a fundamentally different approach (database-driven, AI-generated workflows), you don’t need to migrate off your existing setup. Try Dreamlit for your next workflow and keep using your current provider for everything else.
You don’t need this to use Dreamlit; your deployed app’s production database already works. But if you’d rather run on Supabase, for its auth and dashboard, here’s how to add it:
1
Create a Supabase project
Go to supabase.com and create a free project. Note your project URL and API keys.
2
Add environment variables to Replit
In your Replit project, go to Secrets (the lock icon) and add:
SUPABASE_URL: Your Supabase project URL
SUPABASE_ANON_KEY: Your Supabase anon/public key
DATABASE_URL: Your Supabase connection string (found in Project Settings → Database)
3
Update your app to use Supabase
Replace your database calls with Supabase. If you’re using AI to build your app, prompt it:
“Replace the Replit database with Supabase. Use the SUPABASE_URL and SUPABASE_ANON_KEY environment variables.”
Or if you prefer direct Postgres:
“Connect to Postgres using the DATABASE_URL environment variable instead of the Replit database.”