You don’t need to configure a domain to start using Dreamlit. You can still
setup internal workflows with email steps that send you or your team emails
from a Dreamlit-provided domain.
Setup

Adding and verifying your domain in Dreamlit
1
1. Add domain in Dreamlit
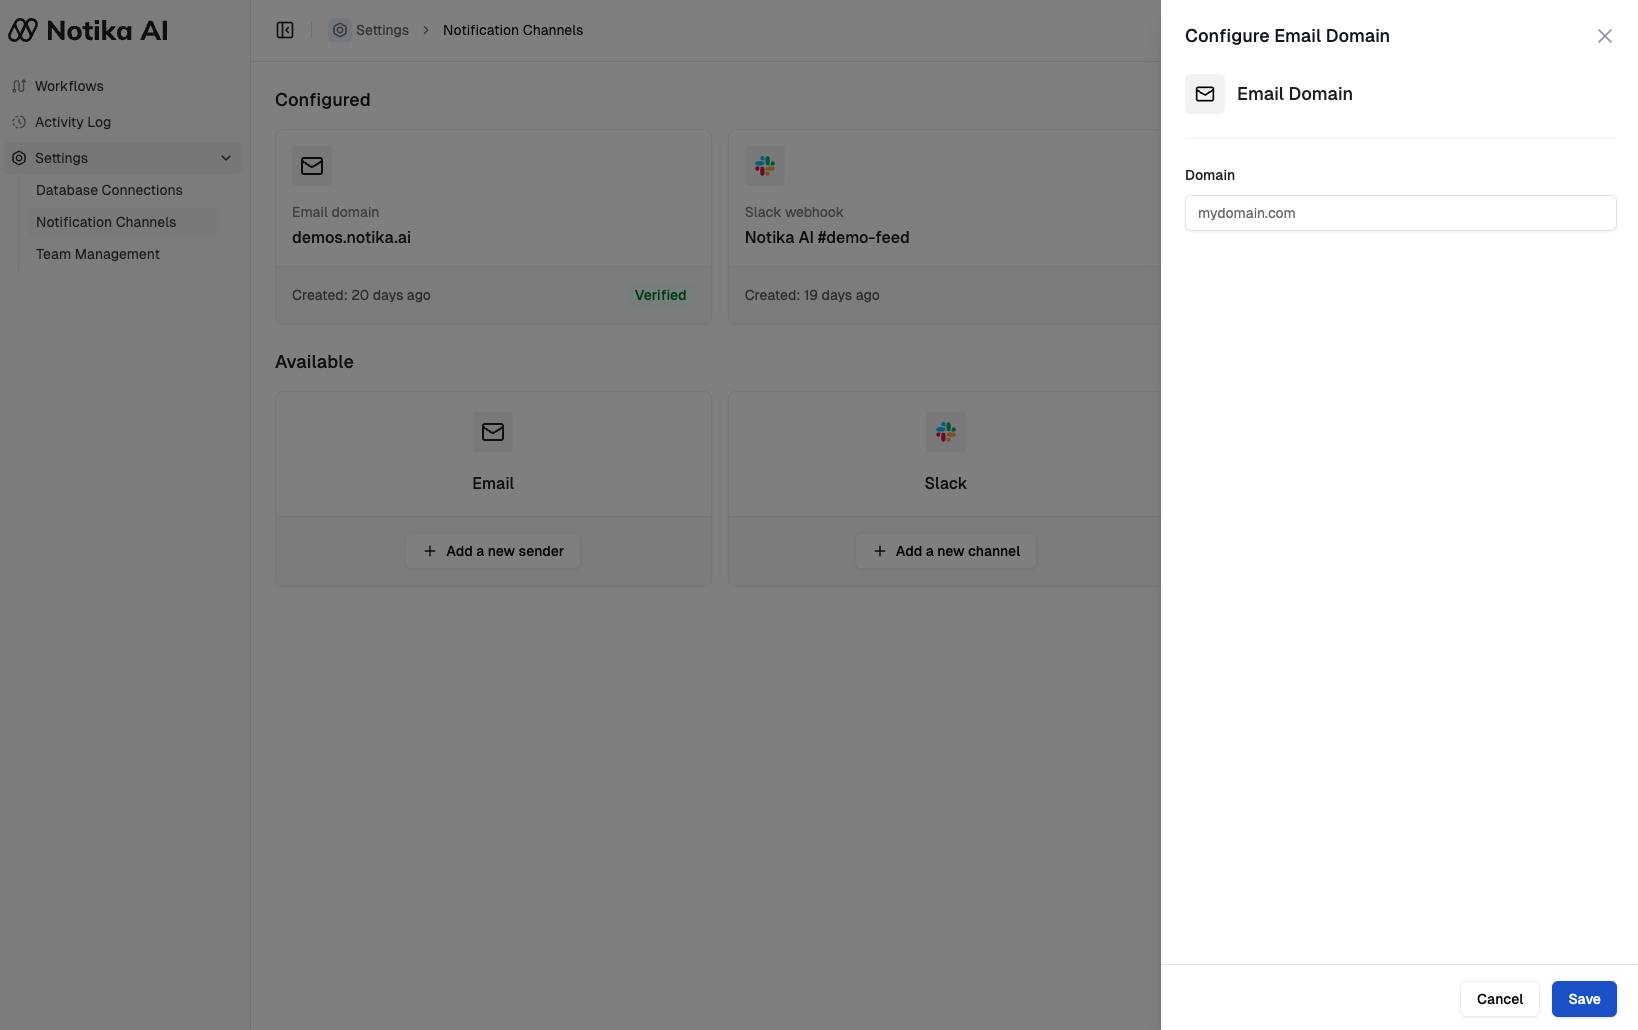
- In Settings → Email Domains, click + Add domain.
- Enter your domain, e.g.
mail.mydomain.com. It’s recommended to use a subdomain of your main domain. - Dreamlit will generate several DNS records required for verification and present them in the next screen.
2
2. Update DNS records with your provider
Copy the provided DNS records from Dreamlit and add them to your DNS host (e.g. Namecheap, Cloudflare, GoDaddy).
Cloudflare
Cloudflare
- Go to the DNS tab in your Cloudflare dashboard.
- Add a new record for each entry shown in Dreamlit:
- Type: CNAME or TXT (depending on the record)
- Name: Provided by Dreamlit
- Value: Provided by Dreamlit
- Save your changes and wait for propagation.
GoDaddy
GoDaddy
- In GoDaddy, open the DNS Management page.
- Click Add under “Records.”
- Enter the record details from Dreamlit, including Host (Name) and Value.
- Save the record and wait for DNS propagation.
Namecheap
Namecheap
- Navigate to Domain List → Manage → Advanced DNS.
- Add each Dreamlit record. Ensure the Host and Value fields match exactly.
- Wait for changes to propagate (usually a few minutes to a few hours).
3
3. Verify domain in Dreamlit
- Once you’ve added all the required DNS records, return to Dreamlit’s Email Domains page.
- Click Verify next to your domain.
-
After DNS propagation, you should see a green check or a success message confirming your domain is verified.
Useful shell commands to verify your DNS records
If you’d like to confirm your DNS records are set up correctly, you can use these Terminal commands to check each record type.Or you can use some free DNS lookup service such as MXToolbox to see the current records for your domain or subdomain.macOS / Linux
- Check MX records:
- Check SPF record (TXT record on your domain):
- Check DMARC record (TXT record on _dmarc subdomain):
- Check DKIM records (CNAME records on _domainkey subdomains):
Replacemail.mydomain.comwith your actual domain (e.g.,mail.dreamlit.ai).Windows
- Check MX records:
- Check SPF record (TXT record on your domain):
- Check DMARC record (TXT record on _dmarc subdomain):
- Check DKIM records (CNAME records on _domainkey subdomains):
Replacemail.mydomain.comwith your actual domain.
4
4. Start sending from your domain
- In your email steps, set the From Address to your newly verified domain (e.g.
[email protected]). - Dreamlit will authenticate messages behind the scenes, improving deliverability.
Why we want you to add these records
We want you to have the best possible email deliverability. The records you add serve different purposes:- DKIM (DomainKeys Identified Mail): Attaches a cryptographic signature to your outgoing emails, proving they originated from your domain and haven’t been tampered with.
- SPF (Sender Policy Framework): Specifies which mail servers are allowed to send emails on behalf of your domain. This helps receiving servers know legitimate senders.
- DMARC (Domain-based Message Authentication, Reporting, and Conformance): Builds on SPF and DKIM to give you greater control over how ISPs handle unauthenticated mail from your domain.
Under the hood
Dreamlit manages IP reputation and deliverability best practices on your behalf. Once your domain is verified:- : We gradually ramp up sending patterns to maintain a healthy IP reputation.
- Engagement tracking: Automatic logging of opens, clicks, bounces, and unsubscribes.
- Personalization: Add user names, dynamic content, or advanced logic in your workflow steps.
You’re all set! Domain-verified email sends are an excellent step toward
building trust and ensuring your notifications reach the inbox.
Brand Kits
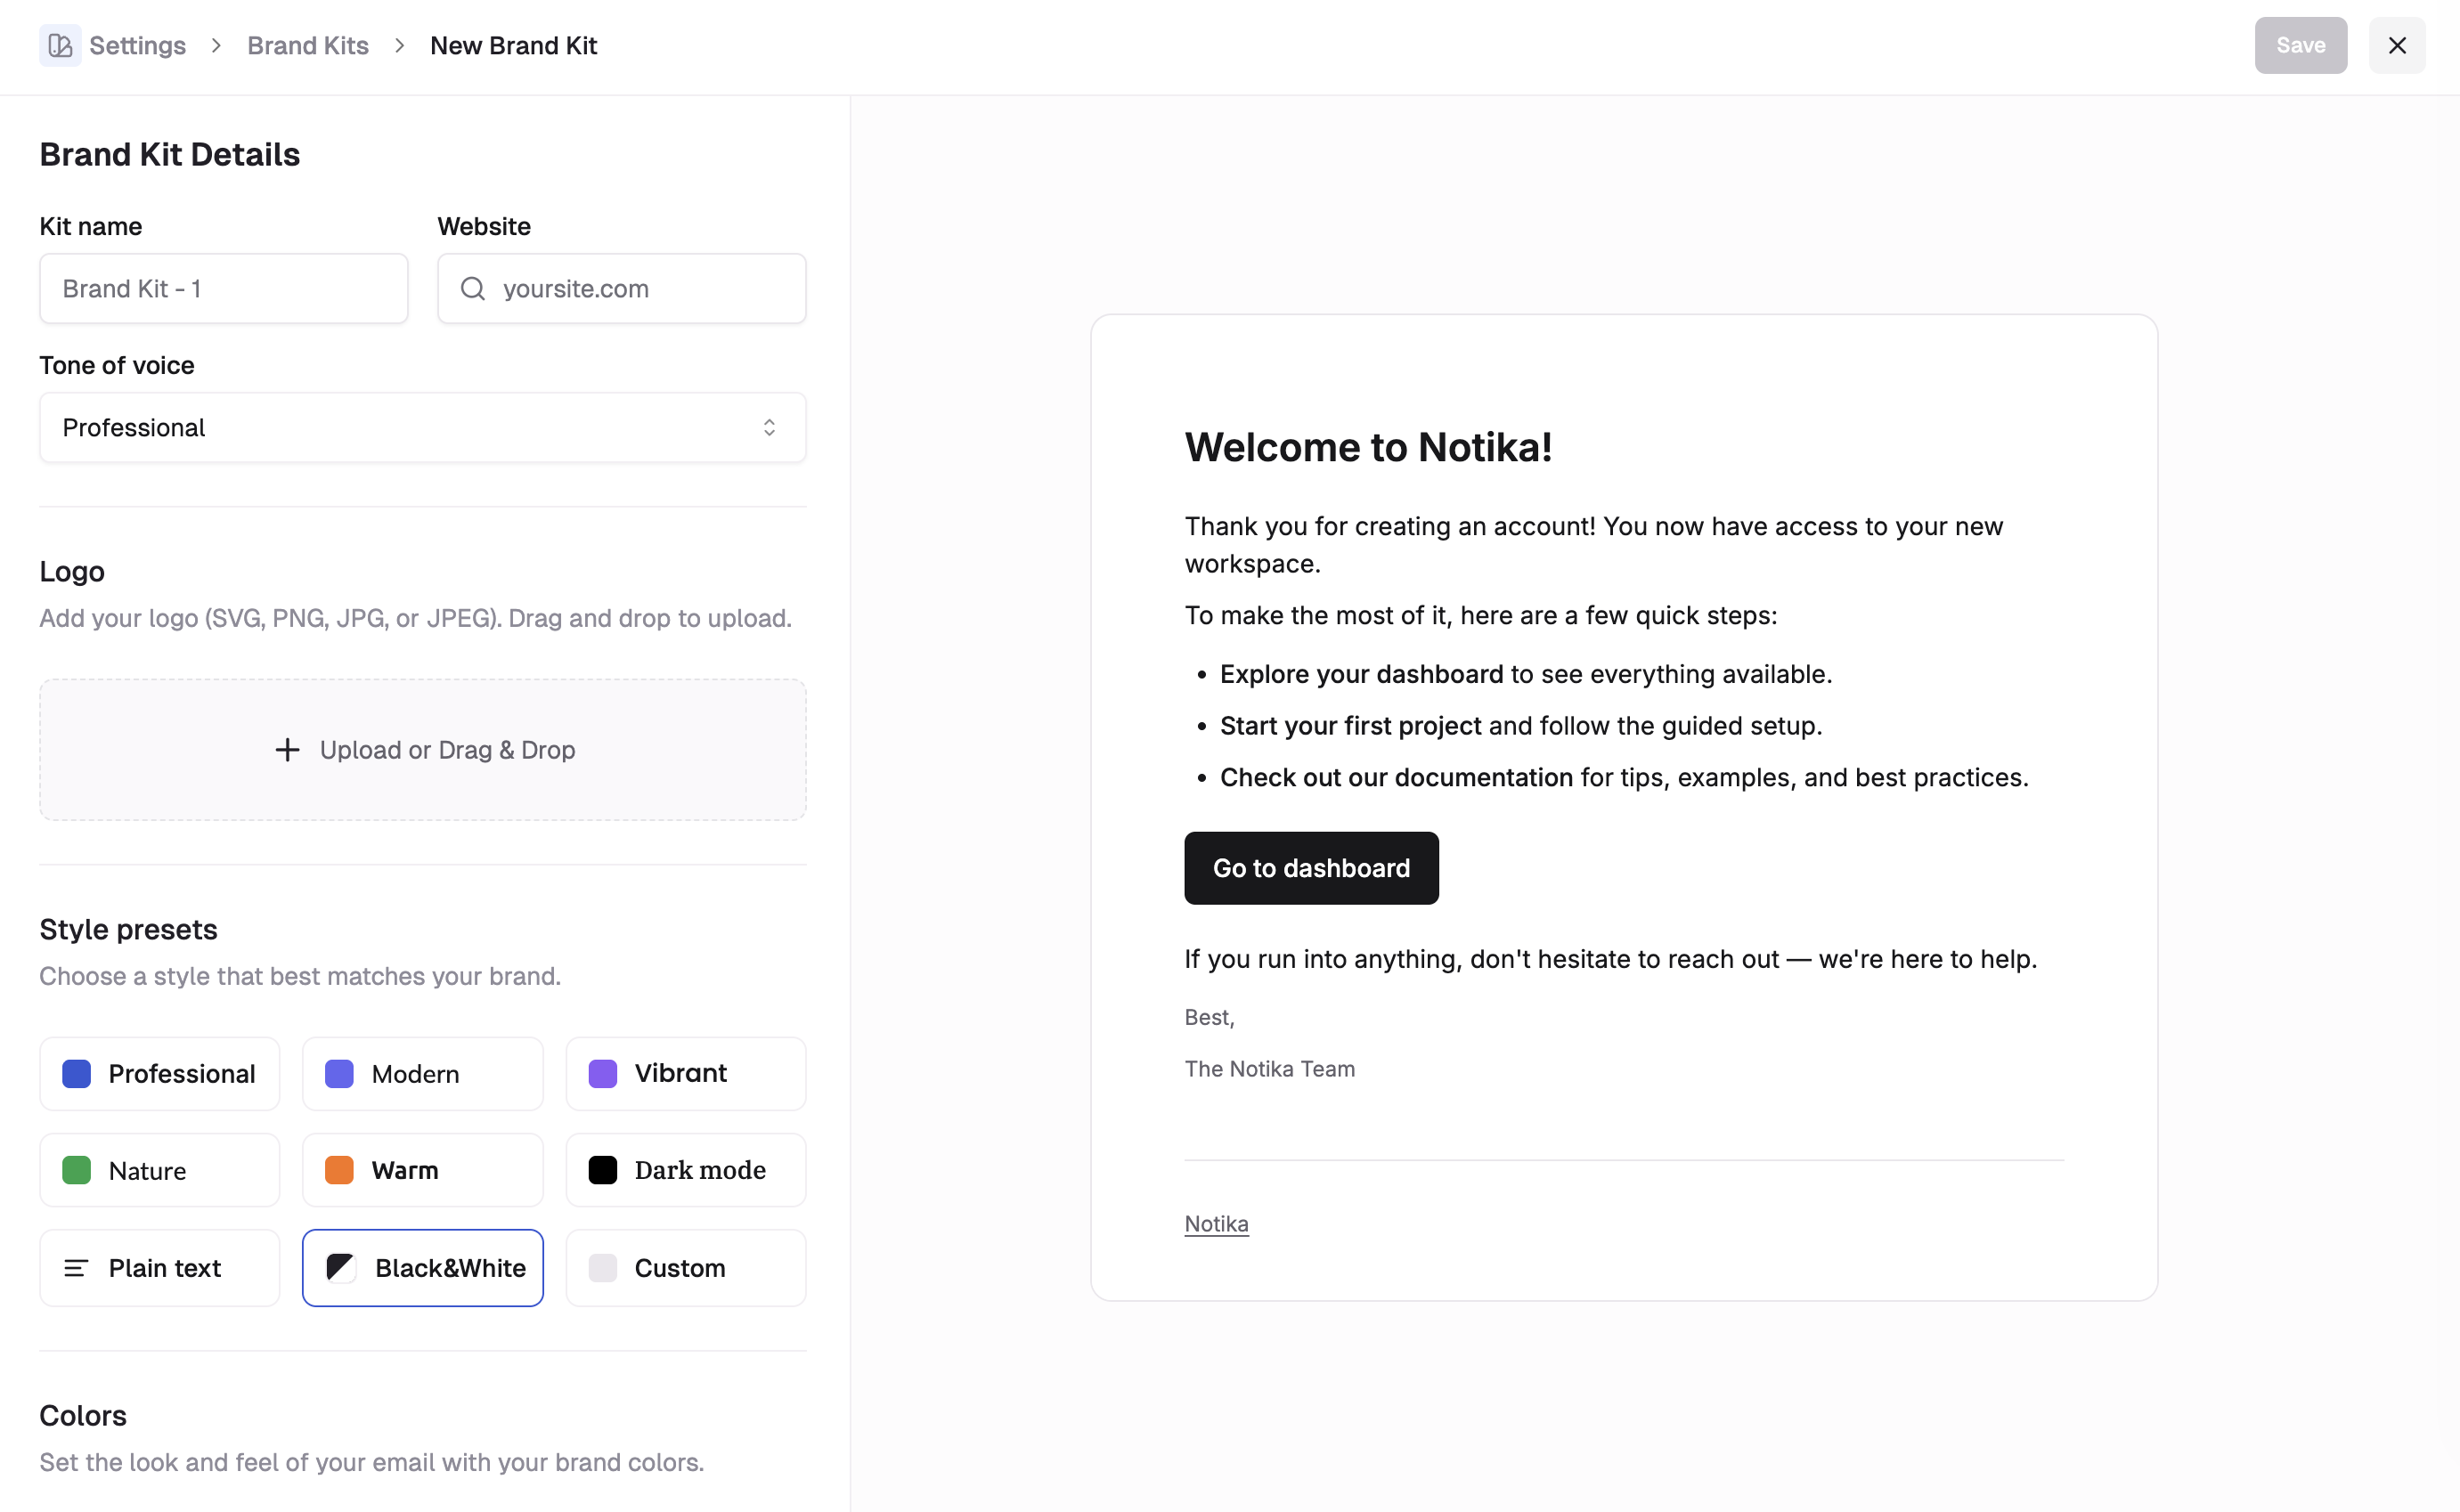
Brand Kits allow you to define your visual identity—logo, colors, fonts, and tone of voice—so that Dreamlit’s AI can automatically generate on-brand email templates for you.
Configuring a Brand Kit
Setting up a Brand Kit
- Navigate to Settings → Brand Kits.
- Click Create new brand kit or edit the default one.
- Customize your settings:
- Basic Details: Set your brand name, website, and preferred tone of voice (e.g., Professional, Friendly, Playful).
- Logo: Upload your logo (SVG, PNG, or JPG). This will be automatically placed in email headers.
- Style Preset: Choose a starting point like “Modern”, “Professional”, or “Vibrant”.
- Colors & Typography: Fine-tune your palette and font choices.